How to Set Up a Multi-User Database
|
Question |
You want to know the steps involved in setting up a shared multi-user ACT! database. |
Answer |
There are several steps to setting up a shared multi-user database in ACT!. It is recommended that you read through all the sections before starting to set up your database. How to Share an ACT! Database on a Local Area Network (LAN)
Specifying the Location of the Shared Database Note: For best results, map the network drive containing the shared ACT! database to the same drive letter on each user’s computer. If the database is not on a mapped network drive, you will not be able to back up, or compress and reindex the database. For information about mapping network drives, see Microsoft Windows online help. Caution: All users of a shared ACT! database must be using the same version of ACT!.
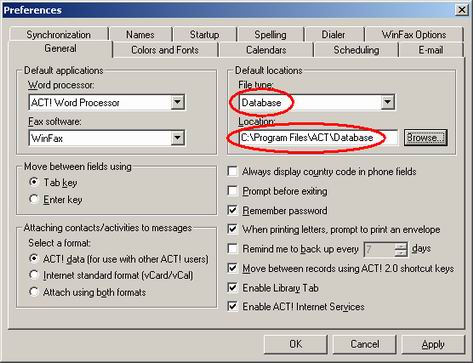
1. After installing ACT! on each user’s computer, open ACT!. 2. Click the Edit menu, then click Preferences. The Preferences dialog appears. 3. Under the General tab, in the Default locations section, ensure that Database is displayed as the File type. 4. In the Location field below, enter the exact path to the folder containing the shared database, or click Browse and locate the folder where the shared database is stored. 5. Click Apply, then click OK to close the Preferences dialog. ACT! will now automatically go to the folder location you specified every time you open a database.
Note: Do not confuse the term user with contact. A user is someone with access privileges to a database, whereas a contact is a record in the database. Users can also not be confused with the User fields that are present in ACT! databases. The 15 predefined User fields are blank fields supplied to ACT! customers to customize as you see fit.
Tip: It is strongly recommended that each user of a database have their own user name and password. If two users log into a database using the same login name, they may not be able to lock the database. They also may not be able to perform database maintenance or other tasks requiring a locked database.
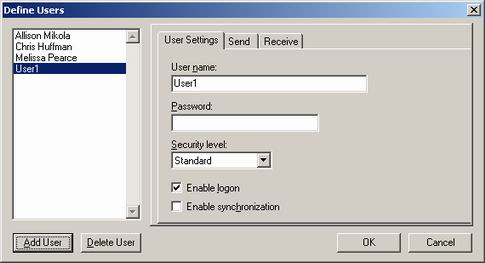
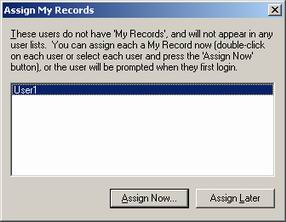
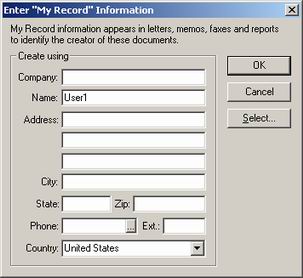
1. Open ACT!, then open the shared database you want to add users to. 2. Click the File menu, point to Administration, then click Define Users. The Define Users dialog appears: 3. Click the Add User button, then enter a User name and Password for the user. The Password field can be left blank if desired. 4. Select a Security level for the new user: · Browse: These users can see the records in the database, but cannot add, modify, or delete records. · Standard: These users can see the records in the database; they can add, delete, or modify records; also synchronize with another database or user. However, they cannot add users to the database, perform maintenance on the database, or modify database fields. · Administrator: Administrators can perform all the functions as a user with Standard security level. In addition, they can add users to the database, perform database maintenance, and modify the database fields. 5. (Optional) Check the Enable logon option. In most cases, you will enable this option. However, if you are setting up a user for synchronization only, you may not want this user to be able to log into the database. 6. Do NOT check the Enable synchronization checkbox at this time. 7. Repeat steps 3 through 5 for additional users. Click OK when you finish adding users. The Assign My Records dialog appears: 8. You must create a 'My Record' for each user who will be logging into your database, or synchronizing with it. To assign a My Record to a user, follow the steps below: a. Select the desired user from the list, then click Assign Now. The Enter "My Record" Information dialog appears: b. If you have previously created a contact record for this user in your ACT! database, click Select, then locate the appropriate contact record. c. Repeat the preceding two steps for any other users. 9. Should you choose not to assign My Records, you will receive a warning dialog: |